Guide / Public offers, private follow-through
A public storefront with private request and booking details
Give customers a public catalog of your offerings, then send each request to a workspace that requires sign-in. Publish photos, descriptions, and general terms; keep customer names, contact details, messages, and individual booking arrangements out of the public catalog. Choose scheduling when customers can book a time directly, or an intake workflow when you need to review the work first.
Start with the boundary
Keep the offer public and the customer record separate.
A browsable storefront does not need to expose your customer list or booking records. Show what you make, rent, or do, with an obvious next step. Collect the details of each job through the request or booking flow and limit access to the people who need them.
Here, “private” means kept out of public browsing with access controlled by the chosen tool. The customer may still see their own confirmation, messages, or invoice. Hiding a link alone does not establish who can open it.
Decide what belongs on each side.
| Public storefront | Customer-specific follow-through |
|---|---|
| Offer photos, descriptions, general prices, and service area | Names, email addresses, phone numbers, and the details of an individual request |
| How to request work, typical lead times, and general pickup terms | Agreed dates, exact handoff details, custom scope, messages, and invoices |
| A booking or request button | Submissions, calendar records, and internal notes in an account with appropriate access |
For example, a party-supply seller can show display stands and a general pickup area publicly. The customer's event address and agreed collection time belong in the individual conversation or booking.
Three ways to collect the details
These patterns describe the customer’s next step. Some tools span more than one pattern; the useful question is whether you need a time slot, an appointment with payment, or a request to review.
1. Public and private scheduling tools
Use a scheduling page when the service and duration are defined and a customer can choose an available time. Link it from the page that explains the offer.
Acuity Scheduling / Squarespace Scheduling: Acuity distinguishes public appointment types, which appear on the scheduler, from private types, which are hidden there. Customers can still book a private type through a direct link. That setting controls which offers are listed; treat the link as shareable, and check customer-record access separately. Acuity’s public and private appointment guidance.
Calendly: Connect calendars, set availability, and share a booking link so invitees can choose a time. This fits a consultation or other defined appointment linked from your storefront. It does not establish that your whole customer workflow is private; review the access and notification settings you actually use. Calendly’s scheduling workflow.
2. Appointment and payment tools
Square Appointments: Square offers an online booking site and a booking button or widget for an existing site. Its payment settings include full prepayment for fixed-price services and holding a card for no-show protection, where the required plan and setup support them. This fits work centered on an appointment and its payment policy. Check the current plan and regional terms before choosing those settings. Square’s online booking setup and payment and cancellation policies.
Keep the public booking page focused on services and availability. Review who can access the appointment records and what appears in customer confirmations before you publish the link.
3. Form-first intake tools
Use an intake form when you need dates, quantities, location, or custom details before agreeing to the job. Link or embed the form beside your offerings. Decide where accepted requests, later messages, and invoices will live; a submission alone does not confirm work.
Jotform: Submission tables have separate sharing controls. A Private Table is available to invited people, while a Public Table lets everyone access and read submissions. Keep the submission table private and share the customer-facing form instead. Jotform’s table permissions.
Tally: Publish a form as a link or embed it in your site, then review responses in its Submissions tab. This can fit a seller who already has a page for their offers and needs an intake step. Review notification recipients and any connected destination where answers are copied. Tally’s form setup and submission management.
Typeform: Responses can be reviewed in the Results panel. Its shareable response-summary report is hidden by default, but making it public lets anyone with that report URL view it. Keep reports containing customer details hidden and share the form URL with customers. Typeform’s response view and report visibility.
When to use which pattern
- Use a scheduling link when choosing an available time is the main decision. Consider Acuity or Calendly alongside your offer page.
- Use an appointment and payment tool when the booking needs a payment or cancellation policy at that step. Square Appointments is a relevant option to evaluate.
- Use a form when you already have a storefront and need to collect details for review. Jotform, Tally, and Typeform can supply that intake step.
- Use Metner’s storefront and workspace when you need a branded catalog for products, rentals, or services plus a place to handle the requests, conversations, seller-managed bookings, pickup details, and invoices that follow.
These are workflow recommendations from Metner, based on the official documentation linked above, reviewed September 15, 2026. They are not a security assessment or a ranking of the tools.
Where Metner fits
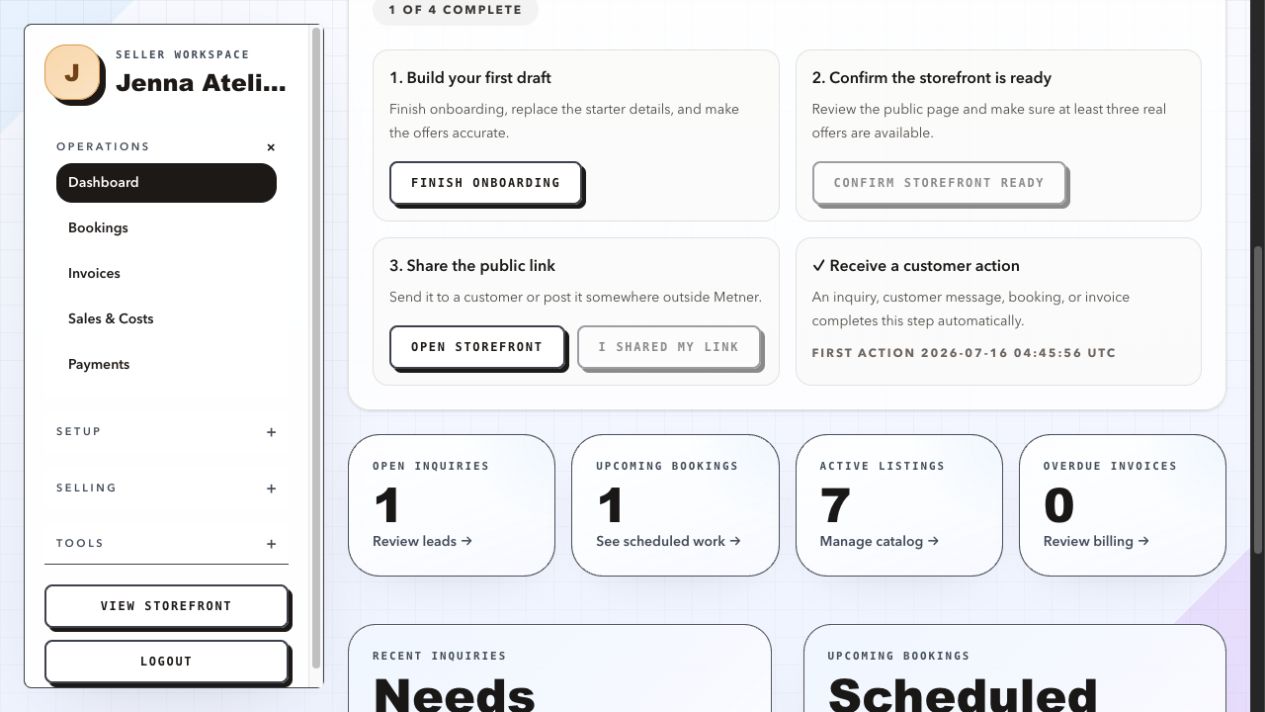
Metner pairs a branded storefront with a private seller workspace. Customers browse products, rentals, or services and send an inquiry or message. You review the request, decide what becomes booked work, coordinate pickup details in messages and booking notes, and create a booking-linked invoice.
The seller workspace requires sign-in and membership in that storefront. Customers with portal access can review their own bookings, invoices, and conversations for the storefront. Customer-visible booking notes are shared with that customer, so use the internal-notes field for seller-only notes.
Metner does not currently offer self-service appointment slots or automatic rental reservations. You check availability and confirm the work. See the customer workspace and rental workflow for the product details, or explore the storefront themes.
Set up and check your workflow
- 01
Publish a small, useful catalog
Add a few offers, clear descriptions, general terms, and one request or booking button. Keep actual customer details out of public descriptions and example images.
- 02
Collect only what you need next
Ask for a way to reply, the chosen offer, and enough detail to assess the request. Explain whether submitting requests a review or confirms an appointment.
- 03
Review access and sharing
Check staff access, calendar sharing, response reports, email recipients, and connected spreadsheets. Share the public form or booking page, and reserve records and exports for the intended recipients.
- 04
Walk through as two customers
Submit a test request with fictional details. Open the public site signed out, then check with a second test customer account where supported. Confirm that customer A’s details do not appear to customer B or a public visitor. Check confirmations and customer-visible notes as well as the storefront.
For the broader process after intake, read a simple customer workflow for side hustlers.
Start with a few offers
Give your requests a place to land.
Set up a Metner storefront, add your offerings, and try the request path before sharing it with customers.